A Practical Guide to Walk-In Showers: What Homeowners Should Know
Walk-in showers are becoming a go-to upgrade in the Netherlands, especially for people looking to simplify their bathroom layout or replace an old tub. But choosing the right design, planning a tub-to-shower conversion, and understanding how these setups work in real European homes takes a bit of guidance. This overview breaks down the essentials people usually check before starting — from space considerations and drainage styles to layout choices and everyday functionality — so homeowners can better understand what fits their bathroom and lifestyle.

A Practical Guide to Walk-In Showers: What Homeowners Should Know
Walk-in showers blend accessibility with a clean, uncluttered look, but the success of a project depends on decisions made long before the first tile is set. Beyond style, you’ll need to think through plumbing, waterproofing, ventilation, surface materials, and how the space will be used by different people in your household. This guide outlines practical steps and trade-offs—whether you’re replacing a tub, fitting a compact bathroom, or planning a larger wet-room layout.
Key steps in a tub-to-shower conversion
If you’re replacing a bathtub, begin with accurate measurements and a quick check of structural and plumbing conditions. Confirm drain location and height, as shower drains typically work best with a 2-inch waste line in many regions—verify local code requirements. Decide between a preformed shower base or a custom tiled base; preformed pans simplify installation, while custom bases allow more flexibility in shape and drain type.
Waterproofing is critical. Choose a continuous system—such as sheet membranes, liquid-applied membranes, or foam-board panels—integrated with the drain. Ensure the floor slope directs water to the drain and that seams, corners, and niches are sealed. Update the mixing valve if needed, add blocking for future grab bars, and verify ventilation capacity. Finally, select the enclosure style: a fixed glass panel, sliding doors, or fully open with a low or zero threshold, considering splash control and cleaning access.
Walk-in shower options for different bathroom sizes
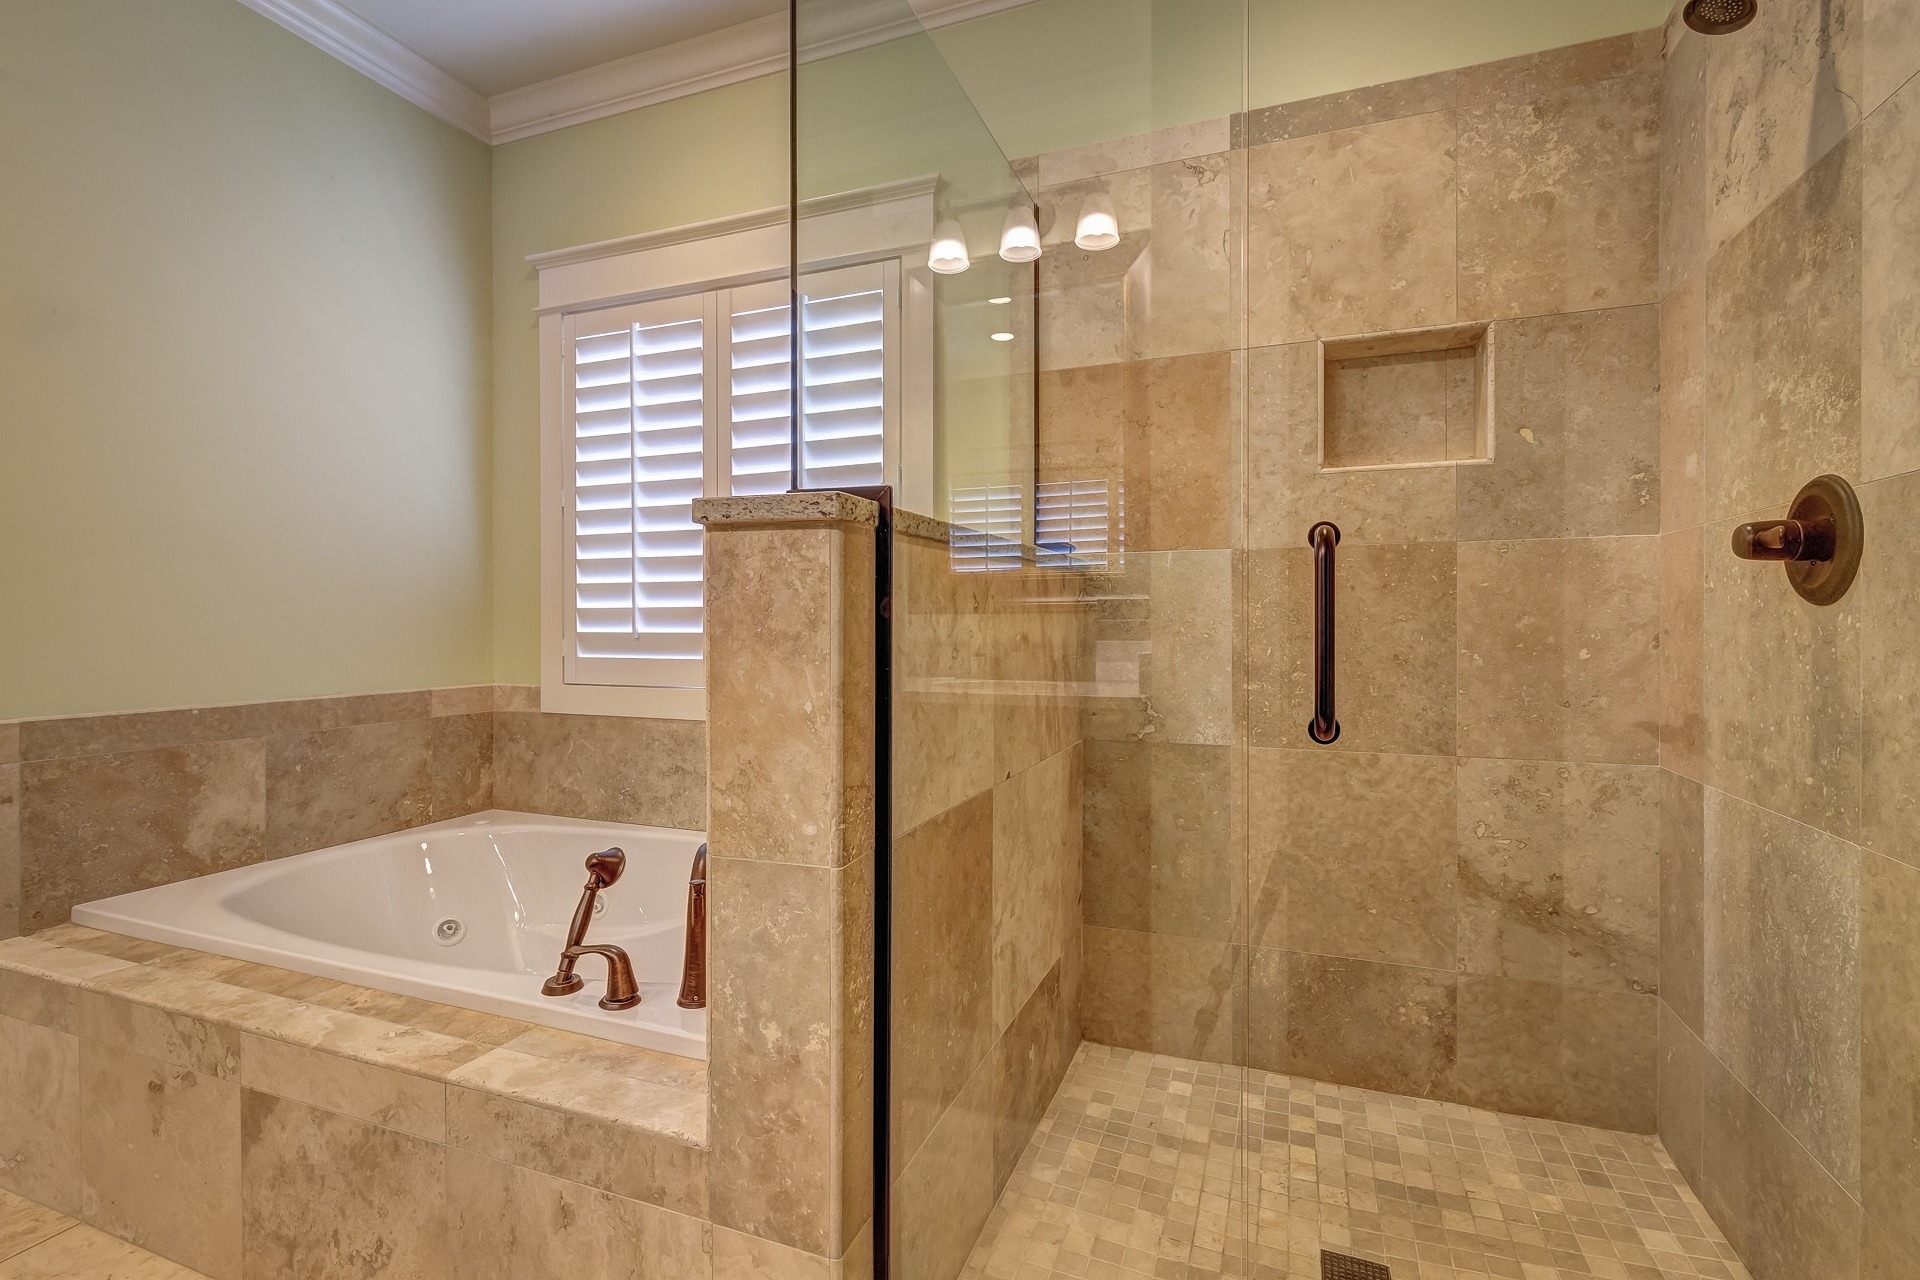
In small bathrooms, a corner unit with a sliding door or a fixed glass screen can preserve floor area. A linear drain along the wall allows a single-direction floor slope, which can simplify tiling and keep profiles low. For mid-sized rooms, an alcove layout with a hinged door or a frameless panel balances openness and water control. In larger spaces, a wet-room concept—where the shower shares the room’s continuous floor—offers barrier-free access, but it demands meticulous waterproofing and a carefully planned drainage scheme to prevent overspray.
To enhance the perception of space at any size, use clear glass, light-colored tiles, and recessed storage. Wall-hung vanities and concealed valves reduce visual bulk, while built-in niches eliminate protruding shelves. Thoughtful lighting and adequate ventilation help maintain surfaces and reduce humidity buildup.
Drainage and layout considerations
Effective drainage underpins every successful walk-in shower. Floors typically need consistent slope toward the drain; many professionals target around 1/4 inch per foot (about 2%), but follow your chosen system’s specifications and local rules. Choose a drain style that suits the layout: point drains work well with mosaic floors that conform to four-way slopes, while linear drains pair nicely with large-format tiles and allow single-plane slopes.
Curb decisions affect usability and waterproofing strategy. A low curb limits water migration and simplifies door sealing; a curbless design improves accessibility but demands precise floor recessing or build-up to meet slope and waterproofing requirements. Plan glass placement to contain splash paths, and leave adequate clearances for door swings or walk-through openings. Don’t overlook ventilation—an appropriately sized exhaust fan and, in some climates, underfloor heating help surfaces dry faster, reducing mold risk and maintenance.
Materials commonly used in modern Dutch bathrooms
Modern Dutch bathrooms often embrace a clean, understated aesthetic with durable, low-maintenance surfaces. Large-format porcelain tiles are popular for both floors and walls, offering minimal grout lines and strong resistance to wear and moisture. Terrazzo and microcement finishes appear in contemporary projects, providing seamless looks when paired with robust waterproofing behind the finish layer. For wet-room floors, porcelain with a suitable slip-resistance rating is commonly selected, and linear drains integrated at the wall or threshold keep the appearance streamlined.
Glass partitions are typically frameless or minimally framed for a light visual profile. Fixtures often lean toward thermostatic mixers for stable water temperature, paired with handheld showers on slide bars for flexibility. Epoxy grout or high-performance cementitious grouts are used to improve stain resistance. Behind the scenes, cement board or specialized building panels with bonded waterproof membranes form the backbone of the wet zone, especially around niches and corners where leaks can develop without careful detailing.
Practical features to think about before installing a walk-in shower
Prioritize safety and accessibility without compromising aesthetics. Choose floor tiles with appropriate slip resistance for wet areas, and consider a built-in bench or fold-down seat. Plan blocking in walls for future grab bars—even if you’re not installing them now. A handheld shower with a thermostatic or pressure-balanced valve improves control and reduces scald risk, and a rain or large overhead shower can be added for comfort if your water pressure and heater capacity allow.
Storage and maintenance matter. Recessed niches keep bottles off the floor, while a shallow ledge or integrated shelf can serve larger items. Opt for glass with protective coatings to reduce limescale marks and design with easy-to-reach corners for cleaning. Good lighting—ideally with moisture-rated fixtures and clear illumination at the floor—enhances safety. Finally, confirm ventilation sizing for the room’s volume and consider humidity controls to keep finishes in good shape over time.
In summary, a well-planned walk-in shower balances layout, drainage, waterproofing, and finishes with everyday usability. By mapping out tub-to-shower steps, selecting options that suit your bathroom size, choosing robust materials, and adding practical features, you can create a space that is comfortable, durable, and straightforward to maintain across changing needs.


